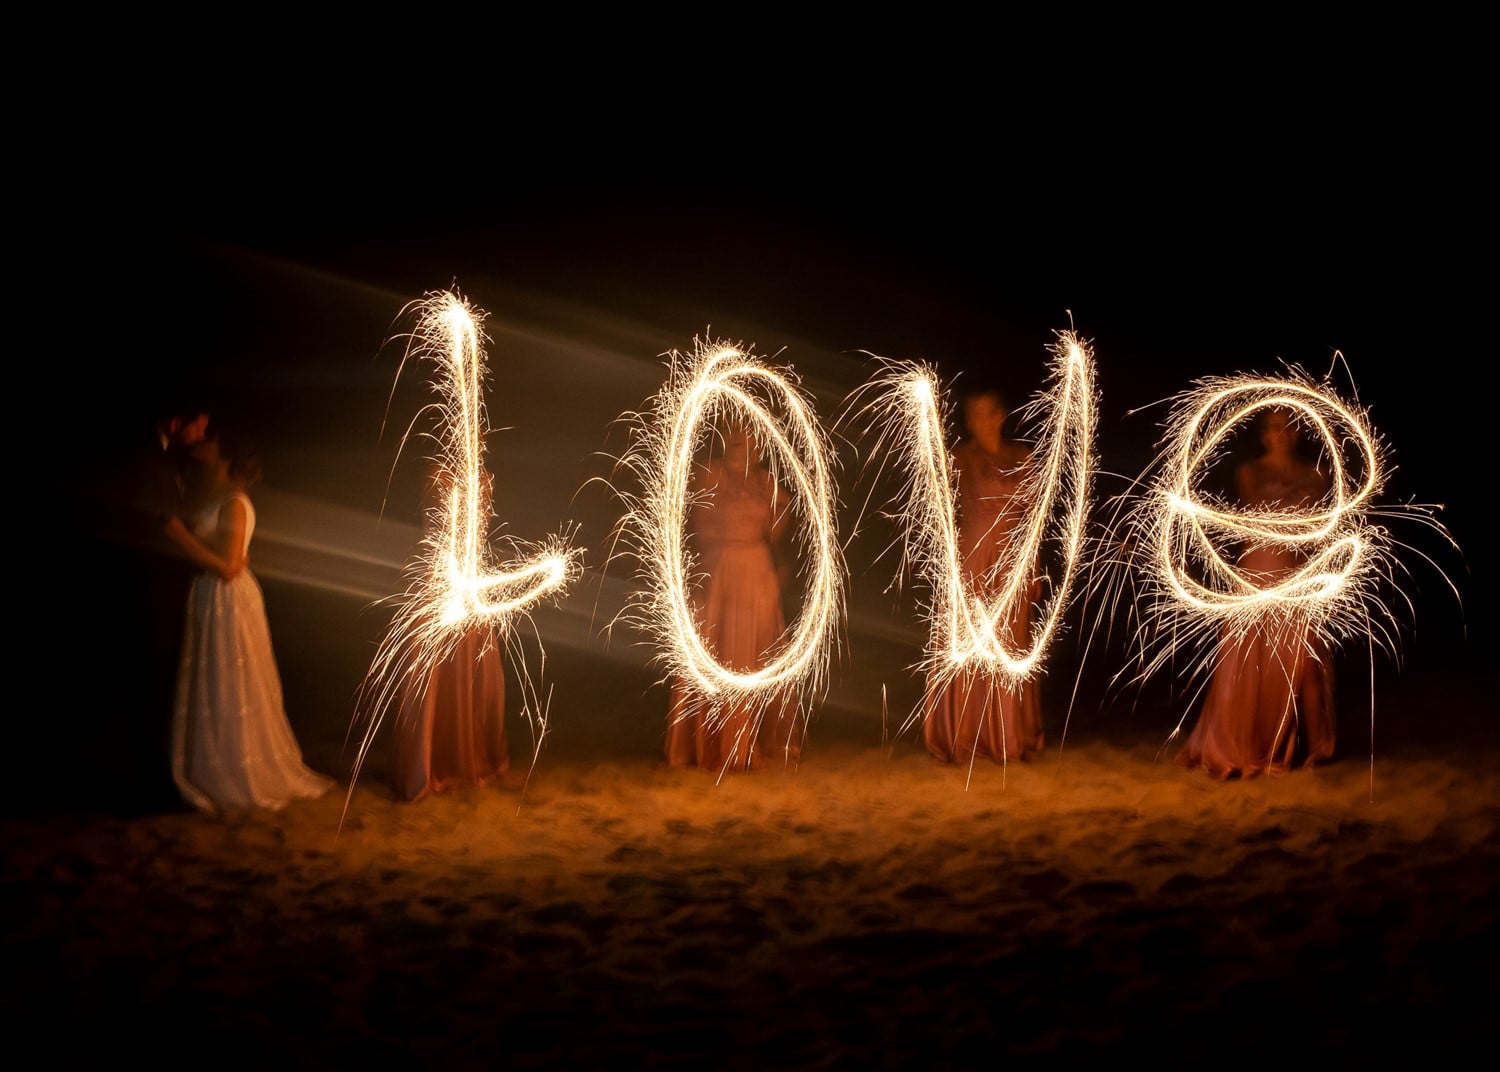
There are many creative ways to use sparklers, whether it’s playing with them outside or using them in a wedding exit. But in recent years, sparkler writing has become a popular photography trend. Sparkler writing is exactly what it sounds like. It involves using a photography technique to capture the light path of a sparkler as the person spells a word out with it. So how do you take your own photos of sparkler writing, and what are some important things to know beforehand? We’re here to help you get started.
Sparkler Photography Inspiration
Before you get snapping, it’s best to look at some other examples of sparkler writing for inspiration. Take a look at a few of these photos.
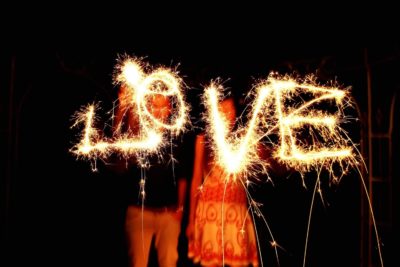
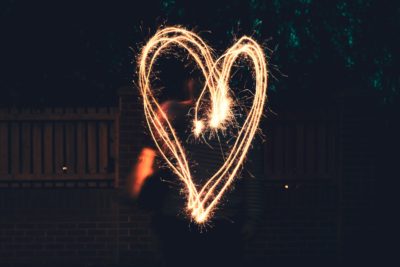
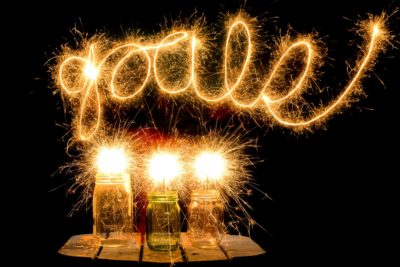
For more sparkler writing photography inspiration, you can also look at our Sparkler Writing Pinterest board.
How Do You Capture a Photo of Someone Writing with Sparklers?
Now that you have an idea of what sparkler writing in photography looks like, you’re ready to snap your own photos.
- You’ll first want to ensure that you have the right sparklers for the job. If you’re planning on writing out a word instead of just a symbol, you’ll want a bigger sparkler with a longer burn time. This is so that you can safely have a few tries to write your word and snap as many photos as possible. While we sell various sparkler sizes, our #36 gold sparklers are the longest ones we sell and allow for about 3 minutes of burn (and photography) time.
- Gather the people who will be writing the word you want to photograph. Ideally, you should have one person per letter, or just one person who will be writing in cursive. Make sure these people know that they will have to write backward for the word to show up right on camera.
- Set your camera up on a tripod or steady surface for the best results. The Make.Share blog suggests that you should use a DSLR camera, or any camera that you can adjust the shutter speed on. Changing the shutter speed allows for more or less light to be in the photo. If there’s too much light in the photo, change the shutter speed to 2 seconds; if it’s too dark, adjust it to 4 seconds. The most important thing to remember is that the photo should entirely focus on the sparkler.
- If you don’t have a DSLR camera, you can also use your smartphone to take photos. First, set a self-timer for 10 seconds on your smartphone. The iPhone specifically has a Live Photo option with effects you can apply to the photo afterward. If you’re using the Live Photo option on the iPhone, go to the photo in your camera roll and tap the Live Photos button near the top of the screen. Select the Long Exposure effect to apply that to the photo. Visit Apple’s support page for more support on taking and editing Live Photos in your iPhone camera roll.
- Know that this may take multiple tries as everyone gets in the hang of writing and the camera is adjusted as needed. However, don’t stress about being perfect. There are many photography apps out there that allow you to edit and manipulate your photos.
Remember that you don’t need to be a professional photographer to take captivating photos of sparklers. You don’t even need a fancy camera. With these few tips, you’ll be well on your way to taking great photos of magical memories.

